Wood Grain Accent Troubleshooting | CarInteriorMix
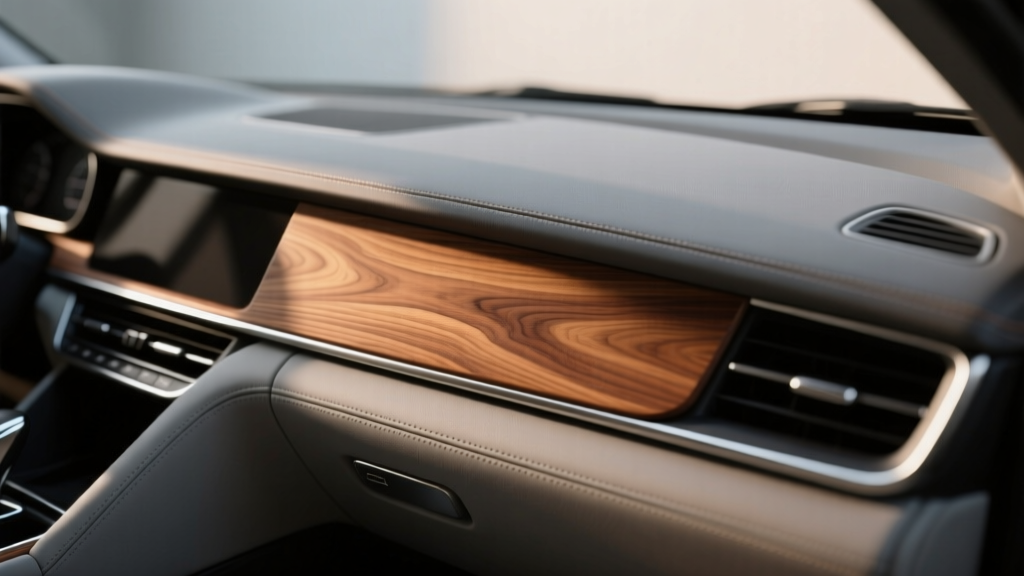
Wood grain accents can transform a car?s cabin faster than almost any other interior mod. Whether you?re upgrading a base trim with peel-and-stick dash overlays or swapping to OEM-style wood pieces, the goal is the same: add warmth, contrast, and a premium feel. When done well, wood grain accents look factory-installed and hold up through heat, cold, and daily use.
When done poorly, though, wood trim becomes a magnet for frustration?lifting edges, bubbling, misaligned seams, sticky residue, and fading that makes the interior look older than it is. Most of these problems aren?t ?bad luck.? They?re predictable issues tied to prep, adhesives, temperature, surface texture, and installation technique.
This guide walks you through troubleshooting the most common wood grain accent problems, step-by-step fixes, and how to prevent them from returning. You?ll also find product recommendations, common mistakes to avoid, and a quick FAQ for the questions car owners ask most when upgrading interior trim.
Before You Troubleshoot: Identify What Type of Wood Grain Accent You Installed
Different materials fail in different ways. Start by confirming what you?re working with:
- Peel-and-stick dash kits / overlays (vinyl or thin ABS with adhesive backing). Most common DIY option.
- Hydro-dipped parts (water transfer printing) usually clear-coated; can chip or haze if the clear fails.
- Real wood veneer kits (often pre-cut with strong adhesive). Sensitive to moisture and heat if not sealed well.
- OEM replacement trim pieces (factory wood or wood-look). Typically best fitment, higher cost.
- Wrap film (applied like vinyl wrap). Needs heat, squeegee work, and edge finishing.
Quick diagnostic clue: If it?s thin and flexible, it?s likely vinyl. If it feels rigid and ?clicky,? it?s ABS overlay. If it?s glossy and feels like a factory part, it may be OEM replacement or a clear-coated hydro-dip.
Tools and Supplies That Solve 90% of Wood Accent Problems
Keep these on hand before you start lifting pieces or re-sticking edges:
- Isopropyl alcohol (70% or 91%) for degreasing (avoid soaking electronics).
- Adhesive promoter (e.g., 3M Adhesion Promoter 06396) for tricky plastics and textured surfaces.
- Automotive-grade double-sided tape (3M VHB or 3M Automotive Acrylic Plus tape).
- Heat gun or hair dryer to warm adhesives and conform pieces.
- Microfiber towels (lint-free) and cotton swabs for tight areas.
- Plastic trim tools for lifting edges without gouging.
- Adhesive remover (3M General Purpose Adhesive Cleaner) for residue cleanup.
- Painter?s tape for alignment guides and temporary holding.
Common Problems and How to Fix Them
Problem 1: Edges Lifting or Corners Peeling
Symptoms: Corners curl up after a day or two, especially near vents, door pulls, or the center stack.
Most common causes:
- Surface wasn?t fully degreased (silicone-based interior dressings are the usual culprit).
- Install temperature was too cold; adhesive never flowed into the surface texture.
- Piece is under tension because it was stretched or misaligned.
- Textured substrate reduces contact area for the adhesive.
Fix (step-by-step):
- Warm the area with a heat gun or hair dryer (gentle heat; don?t scorch plastics).
- Lift the edge carefully with a plastic trim tool just enough to access underneath.
- Clean the substrate under the lifted area using isopropyl alcohol on a microfiber or swab. Let it dry.
- Apply adhesion promoter to the cleaned area (follow the product instructions; a thin wipe is usually enough).
- Add fresh tape if needed (3M VHB or Automotive Acrylic Plus) to the underside of the accent. Press firmly.
- Re-seat and press with consistent pressure for 30?60 seconds. Use painter?s tape to hold the edge down for 1?2 hours.
- Allow cure time (avoid heavy handling for 24 hours; avoid extreme heat/cold for 48?72 hours if possible).
Real-world example: Lifted corners around center vents often happen because the plastic is slightly textured and warm air cycles stress the adhesive. Adhesion promoter plus a narrow strip of VHB at the vent-side edge usually makes it permanent.
Problem 2: Bubbles, Blisters, or ?Oil Slick? Waves
Symptoms: Trapped air pockets, raised bubbles, or a wavy look under glossy wood grain film.
Most common causes:
- Installed too quickly without working from center outward.
- High cabin heat softened adhesive after install, allowing air to migrate.
- Contamination (dust, lint) trapped under the piece.
- For vinyl wraps: overstretching during application.
Fix (step-by-step):
- For small bubbles: Warm the area slightly and press outward with a microfiber-wrapped finger or soft squeegee.
- If the bubble won?t move: Use a fine pin to make a tiny vent hole at the edge of the bubble, then press the air out while warming gently.
- For large or repeated bubbles: Remove the piece, clean both surfaces thoroughly, and reapply with new tape/adhesive if the original backing is compromised.
Tip: Work in a clean area and wipe the panel right before install. A single piece of lint can create a permanent ?bubble? that looks like a defect in the wood pattern.
Problem 3: Misalignment, Crooked Pieces, or Bad Gaps
Symptoms: The accent looks off-center, overlaps a switch bezel, or creates uneven seams between pieces.
Most common causes:
- Rushed placement without test-fitting.
- Aftermarket pre-cut kit tolerances don?t match your exact trim level.
- Not accounting for curves?piece ?walks? as it?s pressed down.
Fix (step-by-step):
- Stop pressing immediately once you notice the alignment issue. Light contact is easier to correct than fully bonded tape.
- Use painter?s tape as guides to mark centerlines and edge references on the surrounding trim.
- Warm and lift gently if the piece has already bonded. If VHB is fully set, removal may require new tape.
- Reapply using a ?hinge method?: tape one edge in place like a hinge, flip the piece up, peel backing gradually, and press from the hinge outward.
When to consider replacement: If the kit is consistently off by several millimeters around controls or hazard buttons, it may be the wrong kit for your model year/trim. Some interiors change subtly mid-generation.
Problem 4: Adhesive Not Sticking at All
Symptoms: Piece falls off quickly, or you can lift it with almost no effort.
Most common causes:
- Interior dressing (shine sprays) or skin oils left on the surface.
- Install performed below ~60�F (15�C) or on a cold-soaked dashboard.
- Cheap tape backing that can?t handle automotive temperature swings.
- Installing on rubberized ?soft-touch? coatings that resist adhesive bonding.
Fix (step-by-step):
- Remove the piece and strip off weak tape completely.
- Deep clean the panel with isopropyl alcohol; repeat until the towel comes away clean.
- If the surface is soft-touch, test a small hidden spot with adhesion promoter first. Some coatings can discolor if aggressive chemicals are used.
- Apply high-quality tape (3M VHB or Automotive Acrylic Plus). Avoid hardware-store foam tape.
- Warm both surfaces (panel and accent) to a mild, comfortable temperature?warm to the touch, not hot.
- Press firmly and evenly. Use steady pressure rather than quick taps.
Problem 5: Scratches, Cloudiness, or Dull Finish
Symptoms: Glossy wood looks hazy, micro-scratched, or develops swirl marks.
Most common causes:
- Cleaning with paper towels or rough cloths.
- Using ammonia-based glass cleaners on plastic surfaces.
- Low-quality clear coat on some overlays.
Fix:
- Light haze: Use a plastic-safe interior detailer and a clean microfiber.
- Fine scratches: A plastic polish (designed for clear plastics) can improve clarity, but test first on an inconspicuous area.
- Deep scratches or peeling clear: Replacement is usually the cleanest solution. Attempting to re-clear coat installed pieces can create overspray and uneven sheen.
Product Recommendations: What?s Worth Buying (and What to Skip)
Best Adhesion and Rework Supplies
- 3M Adhesion Promoter 06396: A go-to for textured plastics and stubborn areas like door pulls.
- 3M VHB Tape: Excellent holding power; ideal for edges that keep lifting.
- 3M Automotive Acrylic Plus Tape: Strong, heat-resistant, often preferred for automotive trims.
- 3M General Purpose Adhesive Cleaner: Helps remove leftover adhesive without harsh scraping.
Dash Kit vs. OEM Replacement: Quick Comparison
- Peel-and-stick dash kit: Most affordable, DIY-friendly, quality varies widely. Best when you choose a reputable brand and prep correctly.
- OEM replacement trim: Best fit and finish, typically most durable, but costs more and may require trim removal skills.
- Hydro-dip: Great for custom looks; durability depends on prep and clear coat quality.
- Vinyl wrap: Highly customizable; best for enthusiasts comfortable with heat forming and edge finishing.
Installation Tips That Prevent Problems (Even If You?ve Already Failed Once)
- Control temperature: Install in a garage if possible. Aim for a warm cabin and warm trim pieces.
- Remove interior shine products first: If you?ve used protectants, clean twice. Silicone residue is a common reason wood accents fail.
- Test fit every piece: Place all pieces without removing backing to confirm alignment and identify tight spots.
- Use the hinge method: Tape one side as a pivot, peel backing gradually, and press from one direction.
- Apply pressure like you mean it: Firm, even pressure helps acrylic adhesives ?wet out? and bond to texture.
- Give it time: Most automotive acrylic tapes reach full strength over 24?72 hours.
Common Mistakes to Avoid
- Installing over dusty or dressed surfaces (especially dashboards treated with glossy protectants).
- Using household double-sided tape that softens in heat and fails on hot days.
- Skipping adhesion promoter on textured plastics, rubberized coatings, or high-touch areas.
- Overheating with a heat gun and warping trim or damaging nearby buttons.
- Forcing a poorly fitting kit and accepting misalignment?small errors stand out at eye level.
- Cleaning with harsh chemicals that haze the clear coat or soften the top layer of vinyl.
FAQ: Wood Grain Accent Troubleshooting
How long should I wait before driving after installing wood grain trim?
You can usually drive right away, but avoid pushing, pulling, or cleaning the pieces for at least 24 hours. For best bond strength?especially with VHB-style tapes?give it 48?72 hours before exposing the car to extreme heat, car washes, or heavy handling.
Why do my wood accents lift mostly in the afternoon?
Heat is the trigger. As the cabin warms, plastics expand and adhesives soften slightly. If the original bond was weak (contamination, cold install, low-quality tape), the edge will start to curl when temperatures peak.
Can I install wood grain overlays on textured trim?
Yes, but you?ll get better results with adhesion promoter and high-quality tape. Textured plastics reduce contact area, so prep and pressure matter more than usual.
What?s the best way to remove a failed wood grain overlay without damaging the dash?
Warm it gently, lift with plastic trim tools, and pull slowly at a low angle. Remove leftover adhesive with an automotive adhesive cleaner and microfiber. Avoid metal scrapers?they?ll leave permanent marks.
My kit doesn?t line up with my switches. Did I do something wrong?
Not always. Some kits are cut for a different trim level, model year, or optional equipment layout. Confirm your exact year and interior configuration before reinstalling. If multiple pieces are off, you likely have the wrong kit.
Should I choose real wood veneer or a wood-look dash kit?
Real veneer looks excellent and feels more upscale, but it?s less forgiving if your car sees a lot of sun and temperature swings. A high-quality wood-look kit (ABS or premium vinyl) often performs better long-term in daily drivers?especially when installed with the right tape and promoter.
Actionable Next Steps
- Pick one problem area (lifting edge, bubbling, misalignment) and fix it using the step-by-step section above.
- Upgrade the foundation: clean thoroughly, use adhesion promoter where needed, and replace weak tape with automotive-grade 3M options.
- Re-evaluate fitment if alignment issues keep repeating?confirm the kit matches your exact model year and trim.
- Protect your finish with microfiber-only cleaning habits and plastic-safe products.
If you want more practical interior upgrade tips?everything from trim removal basics to choosing the right materials?explore more guides on carinteriormix.com.